
Image to Video: How to Pick and Prepare Your Reference Image
A plain guide to image to video: how the start frame works, how to choose and prepare a photo, and how to write a motion prompt, with links to what Google, xAI, Kuaishou, ByteDance and Alibaba say.
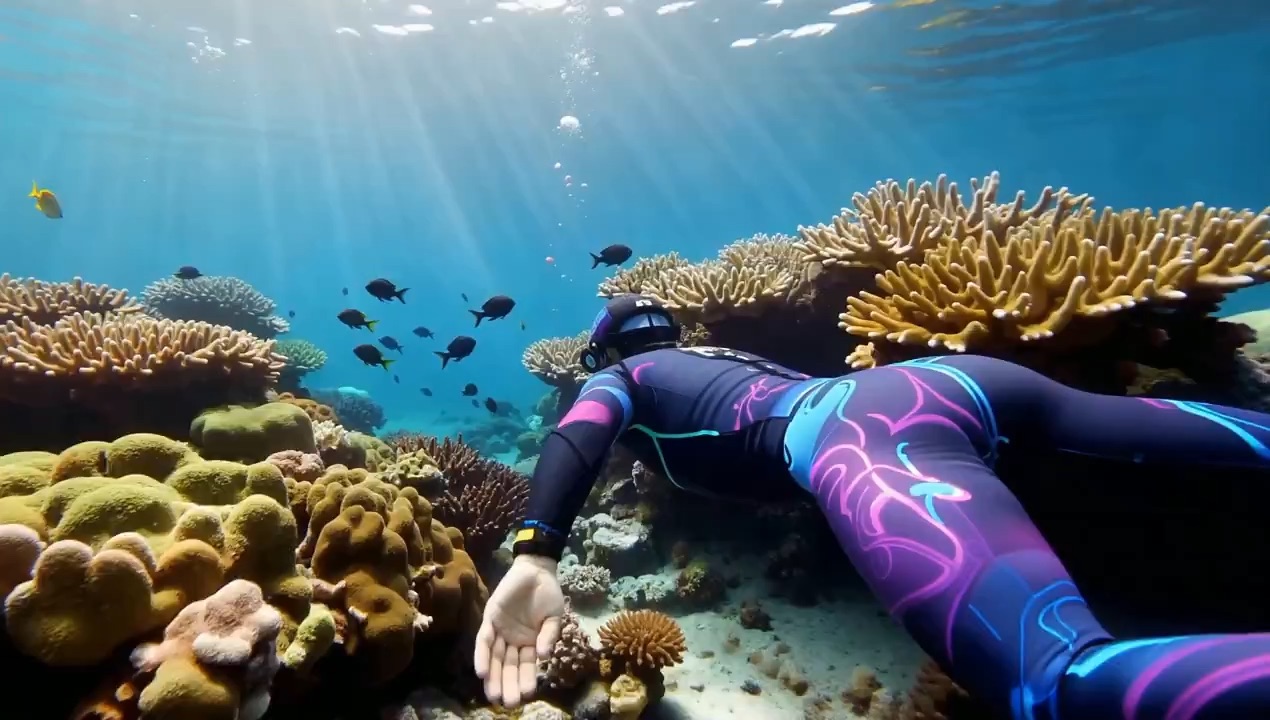
Image to video turns a still photo into a short clip. You give the model a picture and a few words about how things should move. The model does the rest.
It sounds simple, and it is. But the photo you choose makes a huge difference. A good photo gives you a clean, steady clip. A poor one can give you warped faces, odd shapes and wasted credits.
This guide explains how image to video works and how to pick a good photo. It also shows how to write the motion prompt. It is based on what the model makers say in their own docs. We link to each source so you can check it. Tips that come from our own site are marked as such.
You can try everything here in our Image to Video tool.
How image to video works
In most image to video tools, your photo becomes the first frame of the clip. The model then imagines what happens next.
xAI says this plainly in its Grok Imagine docs. The image you send "becomes the first frame, and the prompt describes what happens next."
This has a big effect on how you work:
- The look of the clip comes mostly from your photo.
- The prompt should mostly describe motion, not looks.
- Whatever is wrong in the photo will still be wrong in the video.
A tip in the Veo 3.1 readme on Replicate says the same thing. It says your prompt "should describe the motion and action you want to see, not just describe what's already in the image."
Why use a photo at all?
Text to video is great when you don't need a specific look. But some jobs need an exact match:
- Your own product, with its real label and shape.
- A real place, such as your shop or your street.
- A set style, such as your brand's colours.
- A character that must look the same across many clips.
Words can't pin these down well. A photo can. So for these jobs, image to video is often the better choice.
If you don't need an exact match, try Text to Video instead. Our text to video prompt guide covers how to write those prompts.
What our tool accepts
Here are the rules on Everygen AI today. These come from our own site.
- File types: JPEG, PNG or WebP.
- File size: up to 10 MB.
- Frame shape: you can choose from the shapes the chosen model supports. There is also an Auto option.
Some models match the output shape to your photo. For example, xAI's Grok Imagine docs say the output "always matches the still's aspect ratio." So it helps to crop your photo to the shape you want before you upload it.
How to choose a good photo
The model can only work with what it sees. These tips help it see clearly.
Pick a sharp, well-lit photo
Blur and dark shadows hide detail. The model has to guess what is there. Guessing is where odd shapes come from.
The Veo 3.1 readme suggests "high-quality input images with clear subjects." For reference images, it also suggests "clear, well-lit images that show the subject from the desired angle."
Good signs:
- The subject is in sharp focus.
- You can see the edges of the subject clearly.
- The light is even, with no deep black shadows.
- There is no heavy noise or grain.
Keep one clear subject
A photo with one clear subject is easier to animate. A busy photo with lots of people or objects is harder. Each thing in the frame may move, and each one can go wrong.
If your photo is busy, crop it. Or pick a different photo where the subject stands out.
Leave room to move
Think about the motion before you pick the photo. If you want a person to walk to the right, leave space on the right. If you want the camera to pull back, a tight crop may not have enough around it to reveal.
A little empty space gives the model room to work.
Choose the right angle
The model will start from the angle in your photo. If you want a side view of a car in the clip, start with a side view. Big turns are hard. A photo that is already close to the shot you want is a safer bet.
Avoid text you need to keep
Small text, like labels and signs, can smear when it moves. If the text must stay sharp, keep the motion gentle near it. Or add the text later in an editor.
Use photos you have the right to use
Only upload photos you own or have permission to use. This matters most for photos of real people. Our Acceptable Use Policy explains what is not allowed, such as deepfakes of real people without consent.
How to prepare the photo
A few small steps before you upload can save credits.
- Crop to your frame shape. If you want a tall clip for phones, crop to tall first.
- Fix the light. Lift dark shadows a little. Don't overdo it.
- Remove clutter. Crop out or clean up things that pull the eye away.
- Check the size. Keep the file under 10 MB, in JPEG, PNG or WebP.
If the photo needs bigger changes, you can edit it first. Our Image to Image tool lets you change a photo with a prompt. For example, you could swap the background or change the light. Then use the edited photo as your start frame.
No photo at all? Make one. Use Text to Image to create a clean start frame. Then bring it into Image to Video. This two-step path gives you more control over the first frame.
How to write the motion prompt
Since the photo sets the look, the prompt is about movement. Keep it short and clear.
Say what moves
Name the part that should move and how.
- "The woman slowly turns her head and smiles."
- "Steam rises from the cup."
- "The flag waves in a light wind."
Say what stays still
This is just as important. If you don't say it, the model may move things you wanted to keep steady.
- "The bottle stays still. Only the light moves across it."
- "The background stays still."
Say how the camera moves
Pick one camera move, or none.
- "Slow push-in."
- "The camera slowly pulls back."
- "Static shot."
Google's Veo 3.1 guide lists moves like dolly, tracking, crane, aerial, slow pan and POV. One move per clip is the safe choice.
Keep the motion small
Small, natural motion tends to look best. Big jumps from a still photo are hard. A gentle breeze, a slow turn or a soft camera move is a good place to start.
A full example
Say your photo shows a cup of coffee on a wooden table by a window. Here is a motion prompt:
Steam rises slowly from the cup. Soft morning light moves across the table. The cup stays still. Static shot.
It says what moves (steam, light). It says what stays still (the cup). It sets the camera (static). It does not describe the cup, because the photo already shows it.
Start and end frames
Some makers say their models let you set both the first and the last frame. The model then fills in the motion between them.
Kuaishou's Kling 3.0 guide lists "Start & End Frames-to-Video" for both Kling 2.6 and Kling 3.0. xAI's docs say Grok Imagine 1.5 can pin first and last frames.
These are what the makers say their models can do. On Everygen AI, start and end frames are still in development. It is coming soon. Today, our tool uses your photo as the start frame only.
Keeping a character the same
A common goal is to keep one person or mascot looking the same across clips. Makers handle this in different ways.
- Kuaishou says Kling 3.0 lets you "lock in" a character with element binding. It says the subject then stays steady during zooms and pans.
- ByteDance says Seedance 2.0 can take up to 9 images, 3 video clips and 3 audio clips as references.
- ByteDance says Seedance 2.5 raises that to 30 images, 10 videos and 10 audio clips.
- Alibaba says Wan 2.7 has a separate reference-to-video model.
- xAI says Grok Imagine 1.5 can take up to 14 reference images.
Again, these are maker claims about their own products. On Everygen AI, reference images for each model are still in development. The simple method that always works is this: use the same clear start photo each time, and keep the motion gentle.
Common problems and fixes
The face looks warped. Use a sharper, front-facing photo with even light. Ask for smaller motion, like "a slight smile" instead of "laughs and turns around".
Things move that should stay still. Add a line that says what stays still. For example: "The background stays still."
Nothing much happens. Your prompt may be too vague. Name the moving part and the type of motion. "Leaves sway in the wind" is clearer than "make it move".
The edges look stretched. The model may be filling in space outside your photo. Crop the photo to your target shape before you upload.
Text on the product smears. Keep the camera still near text. Or add the text later in an editor.
Test cheap, then go big
Each clip uses credits. Our generator shows the exact cost before you send the job. Cost depends on the model, the resolution and the length. We scale credits by length and round up.
A good habit is to test at low cost first. Try a lower resolution or a cheaper model. When the motion looks right, run it again at the quality you need. The full rate table is on our pricing page.
If a job fails or the model provider turns it down, the credits for that run go back to your balance on their own.
Three examples to try
A product shot
Photo: a bottle of hand cream on a white table.
Prompt: A soft beam of light slides slowly across the bottle. The bottle stays still. Static shot.
A portrait
Photo: a woman looking at the camera, soft window light.
Prompt: She blinks and gives a small smile. Her hair moves slightly in a light breeze. The background stays still. Slow push-in.
A landscape
Photo: a lake with hills at sunset.
Prompt: Small waves ripple across the lake. Clouds drift slowly to the left. The camera slowly pans right.
Each one names what moves, what stays still and how the camera acts.
A worked example, start to finish
Let's walk through one job from start to end. Say you sell candles and want a short clip for your shop page.
- Pick the photo. You choose a sharp shot of one candle on a plain wooden table. The light is soft and even. There is space above the flame.
- Prepare it. You crop it to a tall shape for phones. You check that it is a JPEG under 10 MB.
- Write the prompt. You write: "The flame flickers gently. A thin line of smoke rises. The candle and table stay still. Static shot."
- Test cheap. You run it at a low resolution first. The flame moves well, but the label on the jar blurs a little.
- Fix one thing. You add: "The label stays sharp and still." You run it again.
- Go full quality. The test looks right. You check the cost in the generator and run it at the resolution you need.
Each step is small. That is the point. Small steps make it easy to see what helps.
Which model should you pick?
Each model has its own rates, lengths and features. Our post on how to choose a video model lays out the facts side by side.
Quick checklist
Before you press generate:
- Is the photo sharp and well lit?
- Is there one clear subject?
- Is it cropped to the shape you want?
- Is it JPEG, PNG or WebP, under 10 MB?
- Do you have the right to use it?
- Does the prompt say what moves?
- Does it say what stays still?
- Is there one camera move, or none?
- Did you check the credit cost?
Summary
- Your photo becomes the first frame. It sets the look.
- Pick a sharp, well-lit photo with one clear subject.
- Crop to your frame shape before you upload.
- Write the prompt about motion. Say what moves and what stays still.
- Keep motion small and natural.
- Test at low cost first.
Ready? Open Image to Video, upload your photo, and describe the motion.
Sources
- xAI: Video overview and Image-to-Video
- Replicate: Veo 3.1 readme
- Google Cloud: Ultimate prompting guide for Veo 3.1
- Kuaishou: Kling VIDEO 3.0 model guide
- ByteDance Seed: Seedance 2.0 official launch and Introducing Seedance 2.5
- Alibaba Cloud: Wan2.7-Video launch
- Everygen AI: Pricing and credit rates and Acceptable Use Policy