
AI Director Guide: Turn a Storyboard into Video Clips
Plan a short story, edit individual shots, confirm video credits and review each result. A practical guide to the AI Director storyboard workspace.
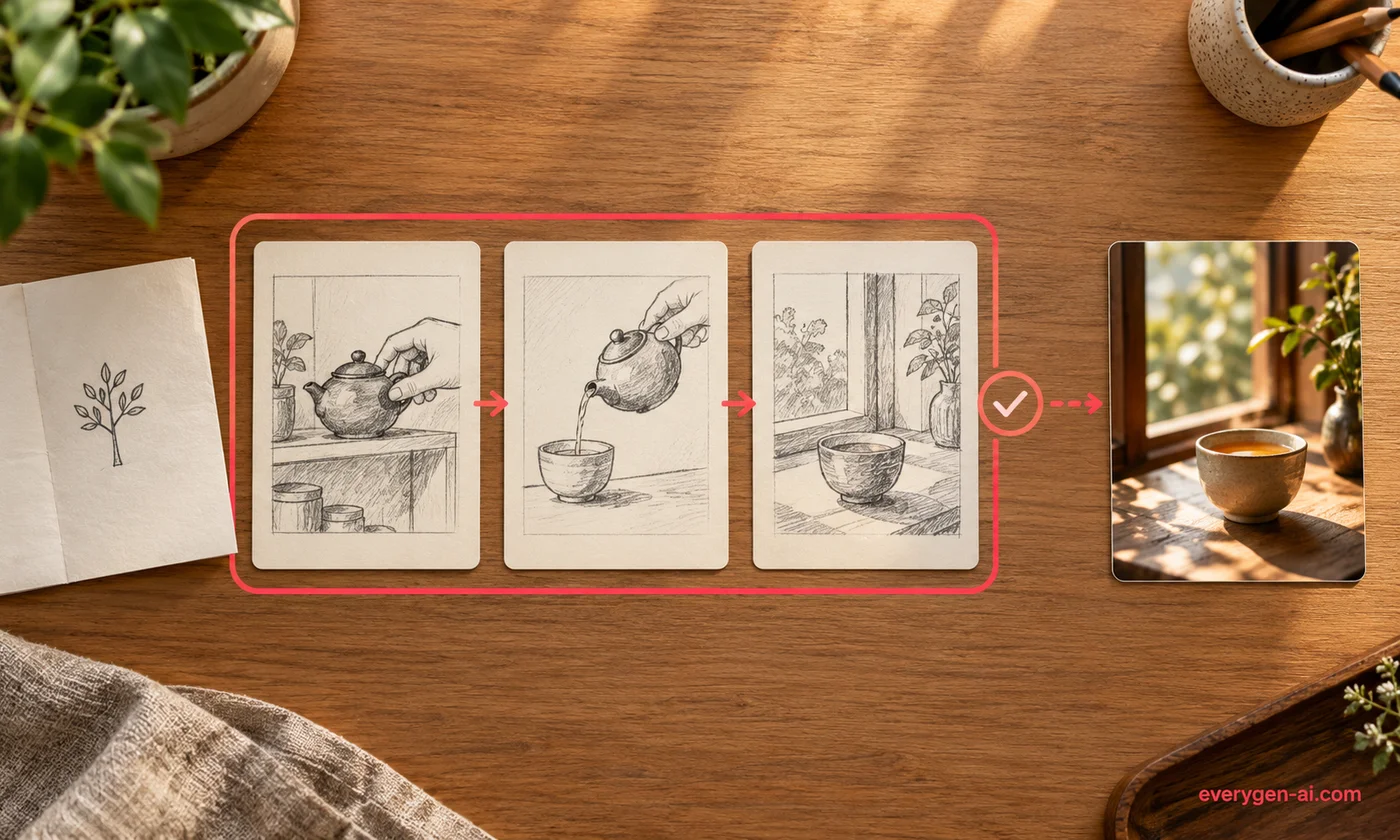
AI Director helps you organize a video idea into editable shots, then generate and review a clip for each shot. Start with a brief or a visual template, decide what each camera shot should show, and confirm the credit estimate before submitting it. You receive individual video clips that you can download and assemble in your usual editor.
Manual starter outlines remain free. Paid accounts can use AI to turn a brief into editable shots and optimize individual prompts when the service is available. Review the plan before generating footage. The workspace delivers individual clips; it does not stitch them together, mix a soundtrack or assign consistent character voices.
1. Start with a story that fits a few shots
For a first project, choose one subject, one setting and one change. A small fox deciding to cross a bridge is easier to direct than a whole adventure with several locations. A product appearing on a desk, being used and ending in a close-up can also make a useful three-shot sequence.
Write a short brief in the composer. Paid accounts receive AI-assisted shots for a custom brief when available; a clearly single-shot request can stay one shot. Manual outlines use a three-part structure or one shot per line. The workspace supports up to eight shots. Sign in and select Create storyboard; planning does not submit video tasks or consume video-generation credits. In a storyboard, Optimize this shot updates only the selected shot and preserves its generated versions.
For example:
A small orange fox with a blue scarf stands at a wooden bridge in a misty forest. Wide shot, slow push-in, soft morning light.
The same orange fox with the same blue scarf takes one careful step onto the bridge. Medium side view, restrained motion, unchanged forest lighting.
The fox reaches the other side and looks back. Steady medium-wide shot, the bridge visible behind it, a quiet final moment.
Use single line breaks between these shot descriptions when entering them in the composer. You can still change the title and prompt of each shot afterward, add another shot or remove an unused one. Submitted shots retain their task versions, so their records are not removed with a casual edit.
2. Load a template or upload a reference
The visual templates include a paper boat story, a clay moon journey and other compact narrative directions. Selecting one fills an English brief and its displayed cover image. The template provides an authored three-shot starting plan when you keep that brief. It does not automatically generate a video.
The cover is the displayed template artwork, not a separate original source photograph. Replace it with your own reference if you need a particular character, object or product. Local references accept JPG, PNG or WebP files up to 10 MiB. A reference is shared across the project's shots and used as their video input; the model may treat it as a starting frame rather than a loose identity guide.
That behavior matters for a sequence. A single image can anchor colors and subject details, but it does not guarantee a new camera angle or perfect continuity. Write consistent descriptions of the subject, clothing and setting in every shot. Avoid asking a fixed source pose to become several complicated actions at once. For more preparation advice, read how to choose an image-to-video reference.
The example films on the landing page are reference films for visual direction. They are labeled separately from your generated results and are not evidence that this workspace automatically assembles a complete film.
3. Review one shot and its cost
Open Video settings to select an available video model, duration, resolution and aspect ratio. Supported combinations come from the same video service used elsewhere on the site. Some models derive the output framing from the input image; the settings panel indicates this when it applies. Prepare the image in the intended shape before submitting.
| Decision | What to check before generation | | --- | --- | | Subject | The identity and important details are described consistently. | | Action | One clear movement fits the selected clip duration. | | Camera | The framing and movement can be understood without conflicting instructions. | | Reference | The source image contains the subject and composition you want to begin with. | | Cost | The confirmation shows the model settings and credits for this individual attempt. |
Click Generate this shot, read the confirmation and approve that attempt. A new version is a separate generation with its own cost. There is no automatic paid generation for every shot in the plan. If the server reports a changed estimate, review the new amount before proceeding. If your balance is insufficient, the task's Open task and payment details link leads into the existing account and payment flow.
Use the Pricing page to compare credit packages, and the live task estimate to assess the clip you are submitting. A three-shot project is not a fixed-price movie: its total depends on the settings and the number of attempts you approve.
4. Inspect the actual result
Each shot has a preview area and a version selector. A completed, unlocked result displays the actual video with playback controls and a download link. A pending or failed task displays its status instead of a sample video. You can also open the task in Creations for its account record.
Watch the whole clip before generating the next one. Check the subject's face or product shape, small details such as a scarf or logo, camera movement, the last frame and any generated audio. Compare the result with the prompt rather than only asking whether it looks attractive. A useful shot needs to do its intended job in the sequence.
If a clip needs another attempt, change the prompt and select Generate a new version. Existing versions remain available. For example, replace “the fox runs and jumps across the bridge” with “the fox takes one careful step” if the movement was too complex. Change one major instruction at a time so you can judge whether it helped.
If the connection drops after you submit, check the existing task first. The workspace retains its task identifier and refreshes that task's status; recovering an interrupted submission uses the same identifier. Do not create another project just to check whether the first request completed.
5. Return to the plan and finish the edit
The editable storyboard and its reference are saved in this browser for the signed-in account. Return through History on the AI Director page. Use the same browser and account; clearing browser data or switching devices does not carry this local plan with you. Completed generation tasks remain in your account's Creations history.
Select Export shot list to save a JSON shot list containing the brief, prompts and task identifiers. This is a planning record, not a rendered video or a portable project importer. Download the approved clips separately and assemble them in an editor. Trim the joins, check the sequence's rhythm, then add music, captions or narration that you have permission to use.
If you only need a single clip, Text to Video or Image to Video may be a more direct starting point. For a product-focused concept, the AI Ad Generator combines ad templates with image and video tools. Use AI Director when keeping several shots and their revisions together helps you tell the story.
If a recording already contains the moment you need, read AI video editing vs generation before making another shot. For a hosted source, the video-link preparation guide explains source access and how to write a complete clipping brief.